How to Grow Chili Peppers Indoors and Outdoors


Growing peppers is so much fun! In this post, you will learn how to grow chili plants so that they produce a lot of hot peppers. You can grow peppers both indoors and outdoors. Growing peppers indoors means that you can grow them all year round (given that you have grow lights).
Chili Pepper Plants can be Overwintered.
Growing chilies in a greenhouse equipped with grow lights and a heating system can also extend the growing season. Pepper plants can be grown as perennials and easily overwintered.

There are numerous chili varieties, and they can be used in various ways. For example, they can be a great addition to soups, stews, stir-fries, and other dishes. Chili can also be used to make hot sauces, marmalade, jams, and so on. Finally, the pods and flowers are beautiful, so they can, of course, also be grown for ornamental purposes. You see! There are many reasons to learn how to grow chili!
Chili plants can grow from half a meter to two meters tall. All depending on the species and variety you choose to grow. Many chili varieties can live for several years in warm climates. The plants have small to medium-sized, shiny, green leaves, and the shape of the pod (the fruit) can differ in size, shape, and color.
They can also be sweet, bitter, and be everything from mild to extremely hot. For instance, paprika, Jalapeño, and Jamaican Bell are more on the mild scale, while we have peppers like Cayenne, which are on the hot to extremely hot scale, and the world’s hottest peppers, such as the Habanero, Carolina Reaper, and Apocalypse Scorpion Chocolate. That is, you can grow peppers of all sizes, shapes, and colors!
The Scoville Scale
The heat of the chili fruit is traditionally measured by the Scoville Scale. The Carolina Reaper, the world’s hottest pepper according to Guinness World Records, has a heat level of 1,569,300 Scoville Heat Units (SHU). However, it has been reported that there may be a new hottest chili in the world: the Pepper X. This chili has reportedly achieved a heat of 2,480,000 SHU (as of October 2017).
Why are Chilies “Hot”?
The reason why we perceive chilies as hot is the chemical called capsaicin. This chemical stimulates the nerve endings in the mucous membrane.
When to Germinate Chili Seeds
The best time to germinate (see this Wikipedia article for more information on germination) your chili seeds will, of course, vary depending on where in the world you are living and whether you are growing outdoors or indoors using grow lights.
Even though it is cold, for example, in January and February in the northern hemisphere, the perfect time to start germinating chili seeds is during these months. This will give your pepper plants ample time to grow and ripen before the end of summer.
But don’t worry, you can, of course, germinate your seeds and plant the seedlings up until April, it may just affect the heat on your chilies. That is, to get as hot peppers as possible, it is best to germinate the seeds in January or February because the varieties producing the hottest fruits, like the Carolina Reaper, generally need more time (the seeds germinate more slowly, the plants grow more slowly, and so on). I typically start my pepper plants as early as December.
How to Germinate Chili Seeds
Now you know when the best time to plant your chilies is, and now you are going to learn how to start the germination process (for a more comprehensive post on the subject, see the best way to germinate chili seeds). The chili seeds need a lot of warmth to germinate, and the best temperature is above 25℃ but below 30℃ (77 – 86 Fahrenheit).
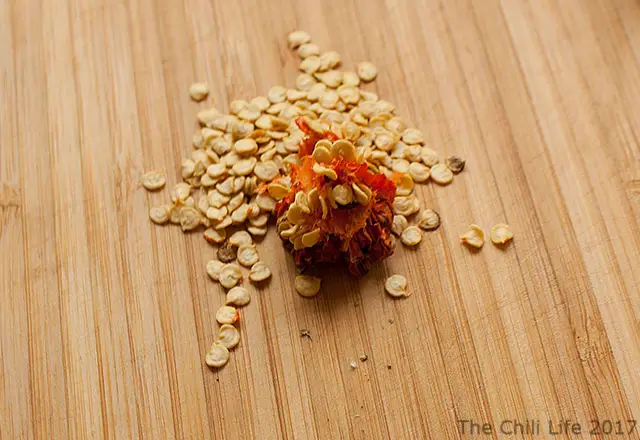
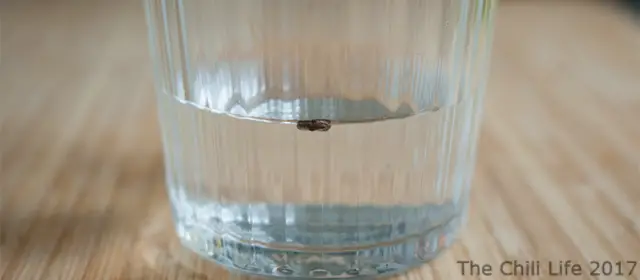
1. Put the Chili Seeds into Water
In the first step, you should put your seeds in some water for about 24 hours (if you plan to grow different varieties, remember to put them in different containers).
2. Place your Seeds in Something Moist (e.g., a Paper Towel)
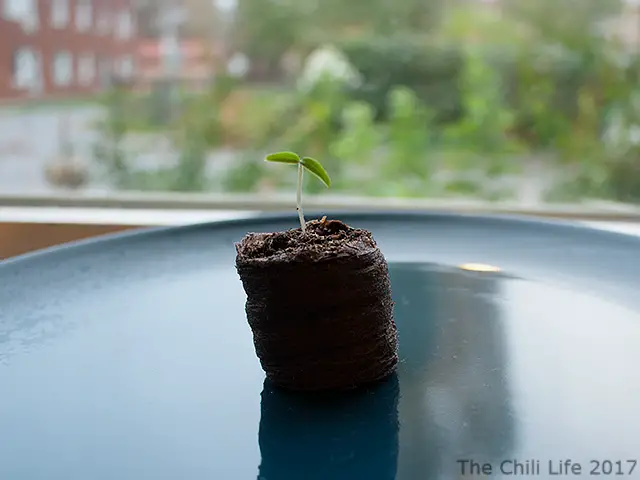
Now, in the second step, after the chili seeds have been softened, place your chili seeds in a moist paper towel or a peat pellet. Place the seeds somewhere warm and/or place them in a plastic bag or ziplock bag (remember to air them from time to time). The time it takes for the seeds to germinate depends on the species. Capsicum Annum, for instance, will take 1 to 2 weeks, while Capsicum Chinense will take over 2 weeks.
3. Plant the Seeds in Compost
In the third and final step, it’s time to plant the chili plant. That is, when the seedlings are large enough to handle, you can move them to a small container (e.g., a pot). If you are growing your peppers indoors, place the pots on a warm, sunny windowsill. If you are growing outdoors, place your seedlings in a heated greenhouse.
Keep the soil evenly moist, but be aware that if it gets too wet, the seedlings may get fungus and die. Grow the chili plants until they are large (about 5 cm tall and with four to six leaves) enough to be moved to larger containers.
A simpler option may be to purchase a pepper grow kit. Some grow kits even ship with soil! Grow kits are a great alternative for beginners.
Growing chili outdoors
In this section, you will learn how to grow chili peppers outdoors. When growing chili plants outdoors, they should be gradually acclimated to outdoor conditions over a period of 7 to 10 days. Once acclimatized, move them into well-prepared beds of fertile, moist, well-drained soil (see my post covering the best soil mix for chili to learn how to make a well-drained soil mix).
Chilies thrive best in a warm climate, and they can be grown in pots undercover in a warm greenhouse or polytunnel. Lacking space for a greenhouse? Place your chili plants in a sheltered, sunny location.
If you are growing chilies in a greenhouse, you can transplant them into grow bags (with a maximum of 3 per bag, depending on the bag’s size) or individually into 2-liter containers. Ensure that there is at least a 50 cm distance between the pepper plants. When growing peppers in 2-litre containers, it is beneficial to transplant them to larger containers before they start flowering. Move the plants when most of the leaves are stretching towards the edge of the container.
Growing chili indoors
In this section, you are going to learn how to grow peppers indoors. If you are short of space outdoors (e.g., if you are living in an apartment), you can grow chilies indoors. Here’s how to grow peppers indoors. First, put the plants on a sunny windowsill, in a grow box, grow tent, or under grow lights. Growing chilies with grow lights will extend the season, and you can, of course, germinate your seeds any time during the year. If there is enough space for your chili plants!
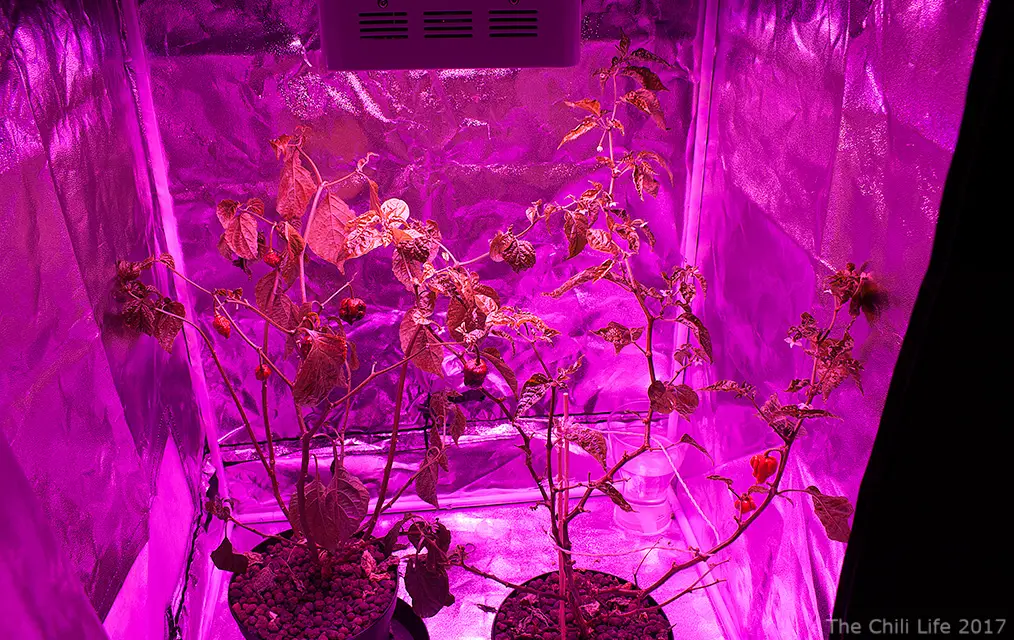
When growing peppers indoors, it is also recommended to move the plants to larger containers as they grow. Start moving them from the small pots to 2-litre pots when the leaves are close to the edges of the container. Continue doing this until they begin to flower. You can, of course, grow the chili plants in larger pots from the start. This may cause them to develop an extensive root system instead of growing big and bushy. Thus, if you gradually re-plant them in larger pots, they will increase both above and below the soil. A healthy and rich root system equals a healthy plant.
Fertilizing chili
Generally, if you grow chili outdoors, you don’t need to add fertilizer to the soil. This, of course, depends on the quality of the soil you plant them in. If the soil is of poor quality,y you can mix an organic fertilizer into planting holes before transplanting the pepper plants. Continue feeding the plants every two weeks with a liquid fertilizer after the plants begin to blossom and set fruit.
If you are growing chili peppers indoors or outdoors in containers, you will need to add fertilizer after 3-4 weeks. The best fertilizer for chilies has a balanced NPK ratio. NPK stands for Nitrogen (N), Phosphorus (P), and Potassium (K), and commercial fertilizers are typically labeled with numbers (5-5-5, for example).
Recently, I have started using bat guano to feed my chili plants. Bat Guano is great because it does not smell and has a nice NPK.
When the first fruits have set, you should feed the plants every week with high potassium fertilizer. This is the time when they need a lot of energy to make hot and tasty chili fruits! Make sure to use the best organic fertilizer or any other suitable alternative you can find at home. For example, why don’t you make use of your coffee grounds (NPK = 2-0.3-0.6).
Watering pepper plants
Well, of course, when you grow chili plants, they need water from time to time. You may wonder, “How often should you water the chili plants?”
If you are growing chili peppers in containers, you can lift the pots after watering your plants. Lift them again when they become dry. By learning the weight of your pots, you will know when the soil starts to become dry and needs watering.
The roots of chili plants need air, so whether you grow them indoors or outdoors, ensure good drainage. If you thrive in containers, you can improve drainage by adding 10 – 30% perlite to the soil.
Keeping your growing pepper plants slightly on the dry side will stress them into producing slightly hotter peppers. Note, over-watering has the same effect, but it is far riskier. Too much water may cause your hot pepper plants to become infected with fungus. We don’t want our precious chili plants to die, right?!
See my post “How and When to Water Chili Plants” for more information.
Pruning the chili plants
Some chili varieties may produce flowering shoots quite early, and to get a better yield, you can prune the plants. One way to do this is to punch out the growing tip of the first flowering shoots. This will promote more branching, and the chili plant will grow bushier.
Ultimately, a plant with more branches can, of course, produce more hot chili pods. After pruning the chili plants, you can add an organic high-nitrogen fertilizer (like blood meal) to help them recover. See this simple guide to pruning pepper plants.
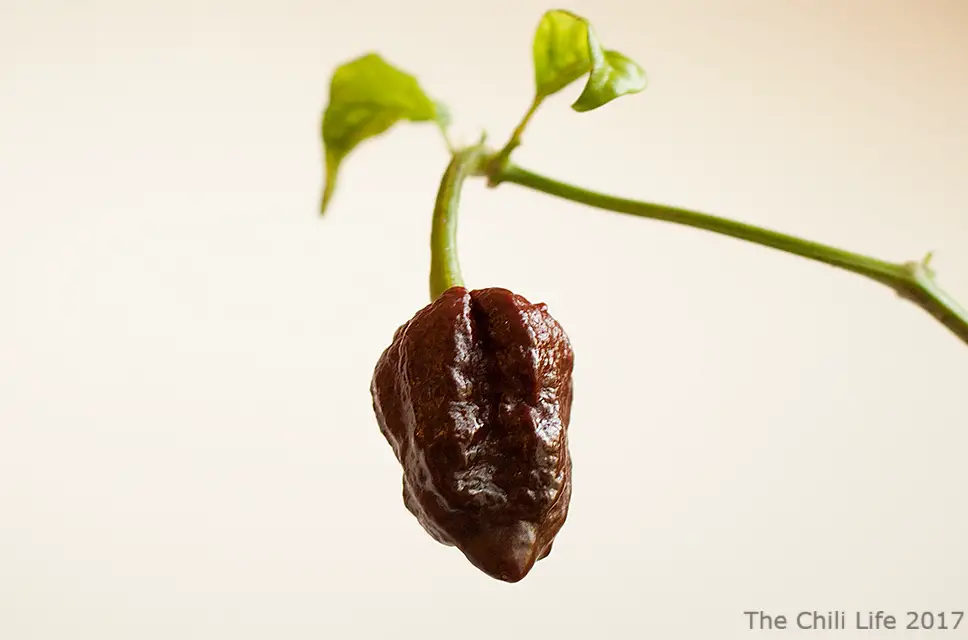
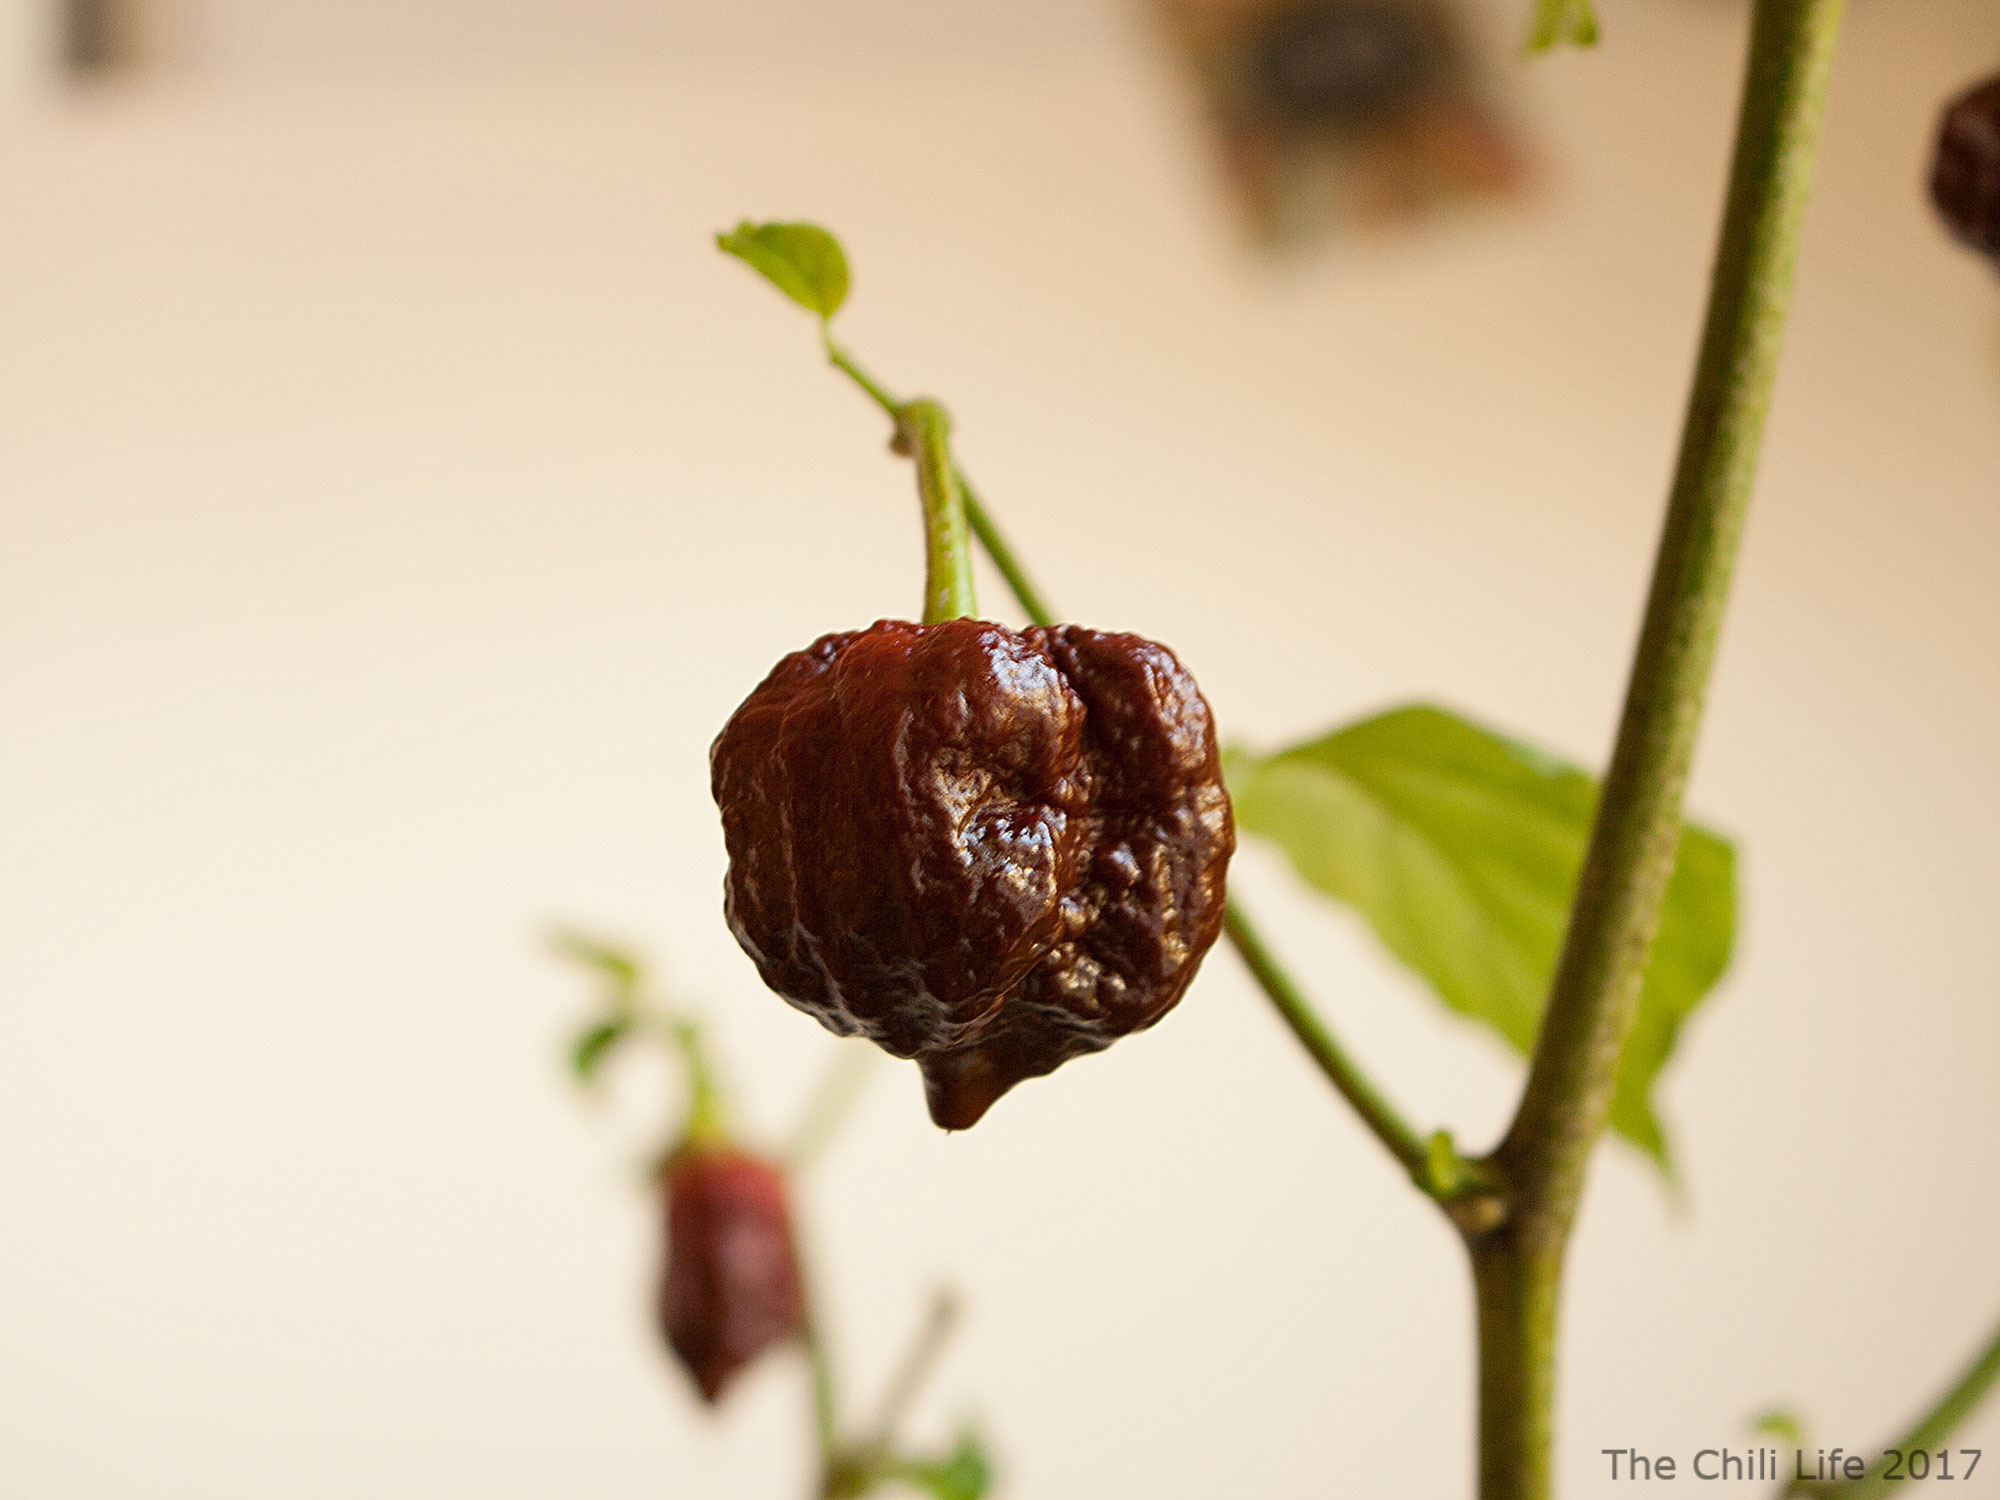
Apocalypse Scorpion Chocolate
Taller varieties of chili peppers (like some of the Capsicum Chinense) may need staking. Varieties that yield large quantities of fruit may also require staking.
If you are growing chilies outdoors, add a thick mulch of organic matter around the base of the plants. This helps conserve moisture and reduce weed growth. If you are cultivating peppers indoors, pollinate chili flowers by using either a small brush or shaking the plants. Pollinating the pepper flowers is easy: brush gently in the middle of the flowers and move to the next (like a bee).
When growing peppers outdoors, open the door to the greenhouse from time to time to allow insects to do the pollination job for you.
Here’s a YouTube Video explaining how to prune chili pepper plants:
Harvesting chilies
Harvesting chili peppers is relatively easy; cut the ripe pods with secateurs or scissors and place them in your container. When growing peppers indoors, you just have to wait until the fruits ripen! However, if you are growing peppers outdoors, harvest your pods before the first frost.
Storing chilies
If you followed the chili-growing tips above, you probably got a lot of nice, hot peppers. So, how and where can you store them for later use? Chilies can easily be dried, frozen, or pickled. Drying chilies can be done in the oven or by simply hanging them somewhere warm and well ventilated. The easiest way is to thread the stems of each chili fruit together.
Hang your thread of chili in your perfect place (warm and well-ventilated, remember). A faster way is to dry them in the oven. If you do this, ensure that you do it on the lowest heat possible. Freezing chili peppers is another great way to store them for later use. Just put your fruits in freezer bags and place them in the freezer.
Now you know how to grow chili indoors, at home, or outdoors in your garden (e.g., in a greenhouse or polytunnel).
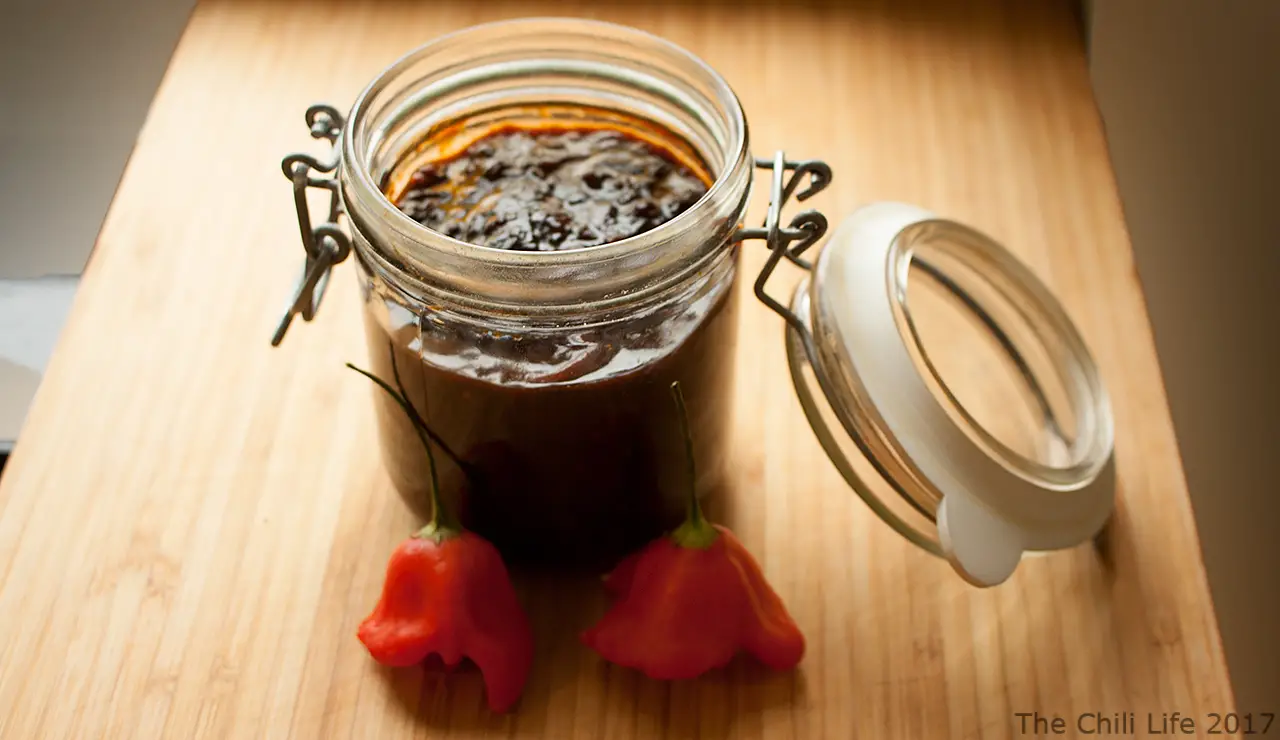
Conclusion: What to Make with Chilies
I typically use my homegrown chili peppers in dishes, make hot sauce, and jam (see my tomato chili jam recipe, for example). Here is a post listing some great uses of chili peppers that I’ve written.
If you have any questions, suggestions, or think I’ve missed something important, please leave a comment.
This post is also available in sv_SE.
5 Replies to “How to Grow Chili Peppers Indoors and Outdoors”
My jalapeno and serranos peppers that I am growing are not hot, there is a lot of peppers on the bush but not spicy! I also can go to the grocery store and pick out peppers there and it’s a crap shoot, what happened? I used to be able to go to any store and pick out hot peppers and they would be hot! Whats the deal or secret to growing hot peppers?
I have been growing Apache F1 chilli pepper plants directly in my garden soil and the chillies are ripening well. Since the weather is getting more and more autumnal, should I dig them up and put them into pots to bring into a cool room in my house?
Hey Sarah,
Are you planning on over wintering them, yes. If not, I’d suggest that you just let the chilies ripen and harvest them as the ripen.
Should I take the ripened chillies off the plant and leave the green ones to ripen. I had wondered whether by bringing the plants indoors I would be able to continue producing chillies over the next few months.
Hello! I just planted a variety of peppers (jalapenos, habanero, serrano, fresno, hot banana) in a raised bed as starter plants. I’m in SoCal mid May where we’re averaging in the 70’s and sunny but not super hot yet. My main question is how often to water them? My raised bed is large and has good drainage. We noticed the habaneros leaves got a little yellow and wilty and I think we may have underwatered for a few days. I’ve heard a good watering at the roots a couple times a week is good, but I’ve read so many different things. Any advice is appreciated! Thank you!