


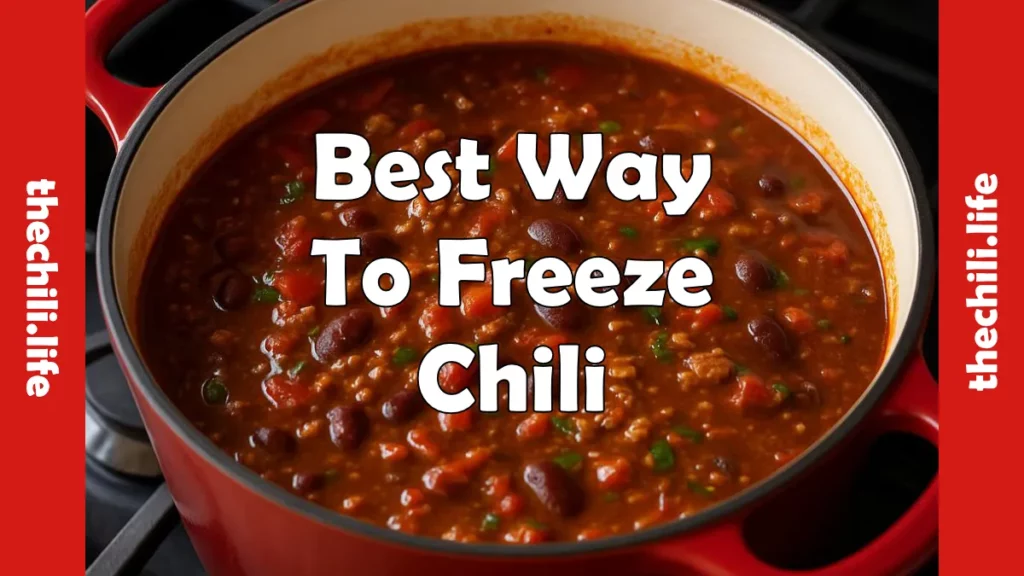

Freezing chili is a simple and convenient way to ensure you always have a warming meal ready to go. Whether you’ve made a double batch of your smoked Jalapeño and sweet potato stew or have some leftover chili con carne from the weekend, knowing the best way to freeze chili keeps those flavors locked in until you need them again. In a previous post, I covered how long chili lasts in the freezer. This time, let’s check how to freeze it in the best way so that every bowl you reheat still tastes like it was made that day.
Table of Contents
- The Best Way to Freeze Chili
- What to Avoid When Freezing Chili
- Reheating After Freezing
- Wrapping It Up

The Best Way to Freeze Chili
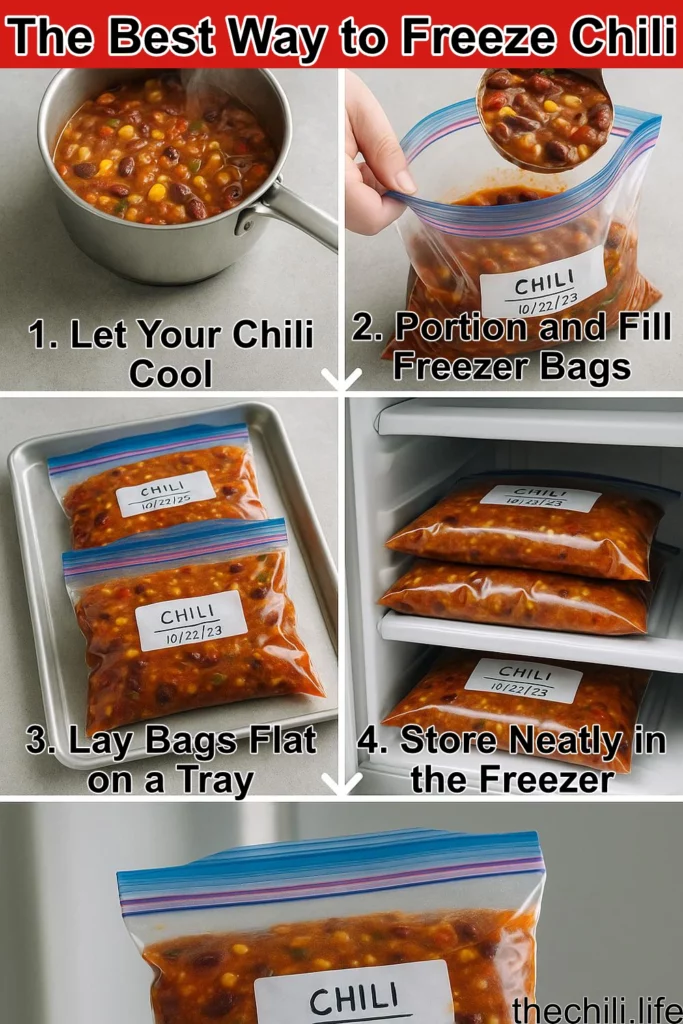
The best method for freezing chili starts before it ever hits the freezer. Once your chili is cooked and cooled to room temperature, it’s ready to portion. I always recommend freezing in the portions you’re likely to eat later. One- or two-person servings work well if you want a quick lunch or solo dinner without defrosting the whole batch.

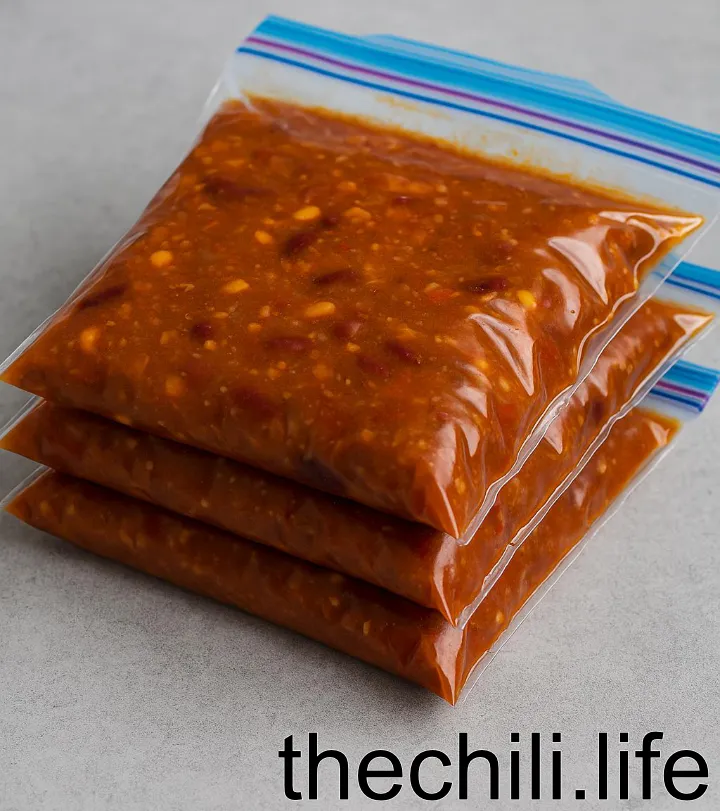
Use airtight containers or heavy-duty freezer bags. If you’re using bags, lay them flat on a tray while they freeze. This saves space and makes thawing easier later. Be sure to leave a little room at the top of each container or bag, as chili expands slightly when frozen.
Label everything. Include the type of chili and the date. I’ve forgotten a few batches in the past and ended up with mystery chili.
What to Avoid When Freezing Chili
Not all containers are created equal. Avoid flimsy lids and cheap bags that crack or split in the cold. Your chili deserves better. Also, avoid freezing chili while it’s still hot. This can raise the temperature inside the freezer and affect other food items nearby. Let it cool on the counter first.
Another thing to be careful with is ingredients that don’t freeze well. Pasta, sour cream, or toppings like avocado tend to get weird in the freezer. If your chili recipe includes these ingredients, freeze without them and add fresh ones when reheating.
Some people also freeze leftover chili in muffin tins or silicone molds and then transfer the frozen pucks to a bag. This makes it easy to reheat just a small amount if you’re using the chili as a topping or side or for loading up baked potatoes.
Reheating After Freezing
Once your chili is frozen, you’ll want to thaw and reheat it properly to restore its just-cooked taste. The safest method is to thaw it in the fridge overnight. If you’re in a rush, place the container in a bowl of cold water. For full thawing tips, read the post on how to defrost chili.
When reheating, a saucepan over medium heat does the job nicely. Stir occasionally and make sure it’s heated through. If you froze a fun veggie-heavy batch, this helps keep the textures from going mushy. For extra flavor, I sometimes stir in a dash of my fermented chili sauce right at the end.
Wrapping It Up
Freezing chili the right way means more delicious bowls in your future with zero extra effort. Whether it’s a bold chili with smoked poblano peppers or a mellow one with butternut squash and black beans, freezing helps stretch your efforts and minimize waste. Just portion it out, pack it up well and label it clearly. Don’t forget to check out how to defrost and how long it keeps in the freezer so you get the most out of every batch. If you’re interested in more general information on what to do with your chili peppers, you can check the older post: The 13 Best Ways to Utilize Chili Peppers.
Do you have tricks for freezing leftover chili? I’d love to hear them in the comments. And if this post helped you, please share it or tag @thechililife on Instagram. Let’s keep the chili conversation going.
This post is also available in sv_SE.